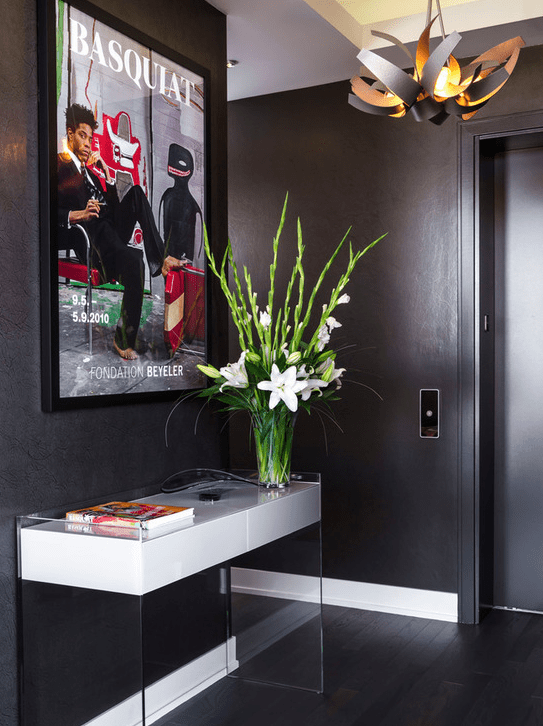
Wallpapering on your own may seem like a daunting task, but really, you can do it! By following this guide you’ll be able to wallpaper your home like a pro in no time.
How to Wallpaper Your Home Like a Pro
Step 1
Proper preparation of your walls is the first step toward a successful project! Scrape any loose paint, and sand the area smooth. Fill any holes or irregularities with spackling and sand the area smooth. If the surface is a bit greasy, as it may be in a kitchen or bathroom, wash the walls with an all-purpose cleaner. When everything is dry and smooth, seal the walls with an acrylic primer. Do not use a regular primer!
Step 2
Next, you’ll measure the walls from the ceiling to the top of the baseboard, along the entire area you’ll paper, since the height may vary from area to area. You’ll want to add 4 inches to the length measurements so that when you apply the paper to the wall, you can move it to exactly match the pattern to the piece next to it. Then, when you have the paper matched, you can trim the top and bottom for a snug fit.
Step 3
If the room you’re working in has an architectural focal point, like a fireplace, you’ll center the first piece of wallpaper above that. For any other room, however, it’s best to start in a corner that is the least-seen corner (which is likely behind a door). Then you’ll then want to measure out from that corner two inches. Use a level and a pencil to draw a straight line from the ceiling to the baseboard. You’ll use this guideline to place your first piece of paper. Check the line, then check it again, to be sure it’s straight and level!
Step 4
Roll out the wallpaper onto a worktable, and use a measuring tape and a pencil to mark the length of the paper that you will need, and slice it with a sharp utility knife. It’s best to measure out and cut all of the pieces of wallpaper that you’ll need for the wall or even the whole room, making sure that you’re matching the pattern, accounting for the pattern repeat, from piece to piece.
Step 5
Roll up the cut pieces of wallpaper with the backing facing outward. This takes the curl out to make the application easier. Then lay the paper out on your work surface face down. Use a wallpaper paste roller to apply a thin coat of pre-mixed paste onto the back of the wallpaper. Bring one end of the paper to the other, paste to paste, to “book” the pasted paper. Let the booked paper relax for the amount of time recommended by the wallpaper manufacturer (read the label that comes with your roll). Then, carefully lift the booked paper to the wall and unfold the top section. Match it to your line on the wall to ensure it’s straight, and use a wallpaper brush to crease it into the ceiling junction. Unfold the book and work your way down the wall to the baseboard, ensuring that you’re keeping the paper straight with your line on the wall.
Step 6
Use the brush to smooth the paper and remove any air bubbles. Work from the center to the edges of the paper. Then use the brush to crease the paper to the junction between the wall and the baseboard. Once secure, use a straight edge or 6” taping knife and a sharp utility knife to slowly and carefully trim the paper at the top and. Brush the trimmed edges at the ceiling and baseboard to ensure good adhesion. Use a clean, damp sponge to wipe away any excess paste on the wallpaper surface, the ceiling and the baseboard.
Step 7
You’re ready for your next piece. Make sure that the pattern is perfectly matched at the center, top and bottom of the wall to eliminate any “pattern drop.” Butt the edges together tightly, and check the seam as you work your way down the wall with the new piece. Gently use the clean, damp sponge to remove excess paste, and finish by using a seam roller up and down the seam. Lastly, trim excess wallpaper way from electrical boxes; if any wrinkling happens during this, smooth over the area again with your wallpaper brush.
Does it sound like a lot of work? It is… our advice is to limit your DIY wallpapering projects to a powder room or hallway and contact a pro for anything larger.


